How to replace a toner cartridge or drum unit in a brother laser printer
Brother Toner Cartridges & Drum Units
How to Replace a Toner Cartridge and Drum Unit in a Brother Laser Printer.
If you have not replaced the toner cartridge or drum unit in your Brother printer for some time, you may have forgotten the process and how you need to separate the toner cartridge from the drum unit.
Below is our quick guide. We’ll show you how to install both for a selection of popular Brother laser printers. Installation steps do vary slightly depending on the printer and the consumable you are replacing but the process is pretty straightforward once you have an understanding of how the toner and drum unit work.
To begin we will start by reviewing each of the consumables so you know exactly what you are putting in your printer.
A quick look at Brother Toner Cartridges and Drum Units
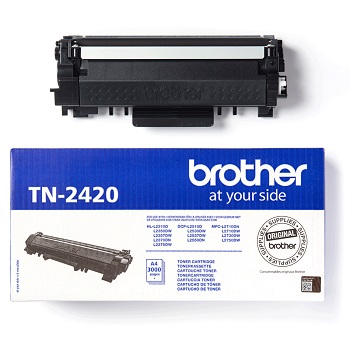
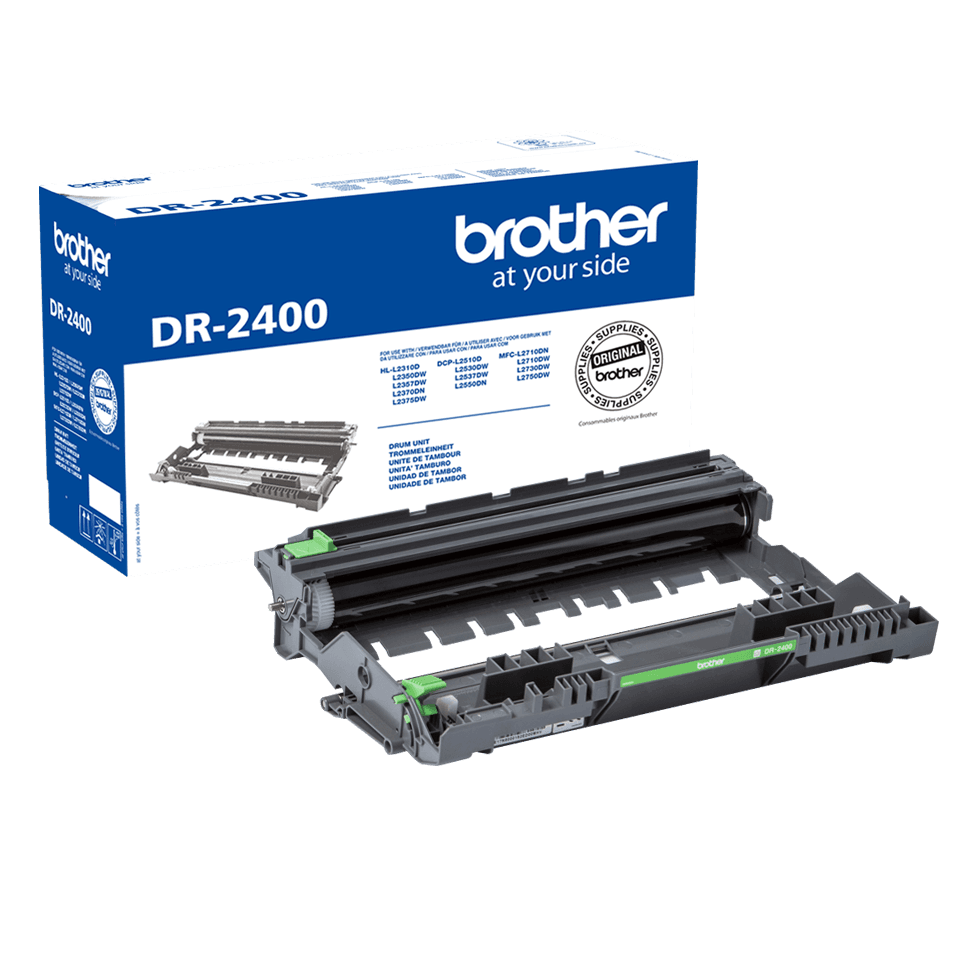
The toner cartridge and drum unit work together to produce a print. The toner cartridge holds the toner powder and the drum unit is an electrically charged cylinder that transfers that toner powder to paper to create text and images.
Brother sells the toner cartridge and drum unit as two separate consumables. The cartridge fits into the drum unit and both are installed together as one unit into your printer.
Toner Cartridge
Drum Unit
Toner cartridges are usually available in a standard yield, high yield and sometimes extra high yield cartridge size. The high yield and extra high yield cartridges do cost a bit more but you will acheive more printed pages which means it is better value in the long term.
Not all Brother printers accept an extra high yield option so be sure to double check your printer manual to verify what your printer will accept.
The drum unit is one size and is compatible with any of the cartridge sizes. Both the toner and drum will need to be replaced overtime, but the toner cartridge will always needing changing first.
There is no requirement to replace the drum each time a toner cartridge is replaced.
Example of typical Brother installation instructions
Brother DCP‑L2520DW / DCP‑L2540DN / HL‑L2340DW / MFC‑L2700DN
How to replace TN2310 / TN2320 Toner Cartridge
1. Turn on the printer and open the front cover.
2. Remove the toner cartridge and drum unit from the printer.
3. Release the toner cartridge from the drum assembly by pushing down on the green lock lever on the left side of the unit.
4. Unbox the new toner and remove the orange protective cover.
5. Slide the new toner into the drum assembly so it clicks into place.
6. Install the complete unit back into the printer and close up the front cover.
How to replace a DR-2300 Drum Unit
1. Turn on the printer and open the front cover.
2. Remove the toner cartridge and drum unit from the printer.
3. Release the toner cartridge from the drum assembly by pushing down on the green lock lever on the left side of the unit.
4. Unbox the new drum unit.
5. Slide the toner into the new drum assembly so it clicks into place.
6. Install the complete unit back into the printer and close up the front cover.
Reset the DR-2300 Drum Counter
1. Open the front cover
2. Press and hold “Ok” for 2 seconds
3. Press the up arrow or “1” to reset the counter
Sometimes, when replacing the toner cartridge you need to reset the toner counter. Below is an example of how to reset the TN2320 counter.
1. Open the front cover and leave open while completing the following steps.
2. Turn the printer off.
3. Hold the ‘GO’ button while turning the printer on.
4. After 3 seconds release the ‘GO’ button.
5. (USER MODE) will appear.
6. Press the ‘GO’ button 9 times.
7. The Wifi led will flash once.
8. Press the ‘go’ button 5 times.
9. Close the cover. Your toner is now reset
Press OK 3 times to print a status page and this will show that the toner has reset back to 100%
Reset methods do vary slightly on different printers so if you require further help to establish the correct reset technique please use Live Chat or email customerservice@cartridgeworld.co.uk and we will be more than happy to assist you.